
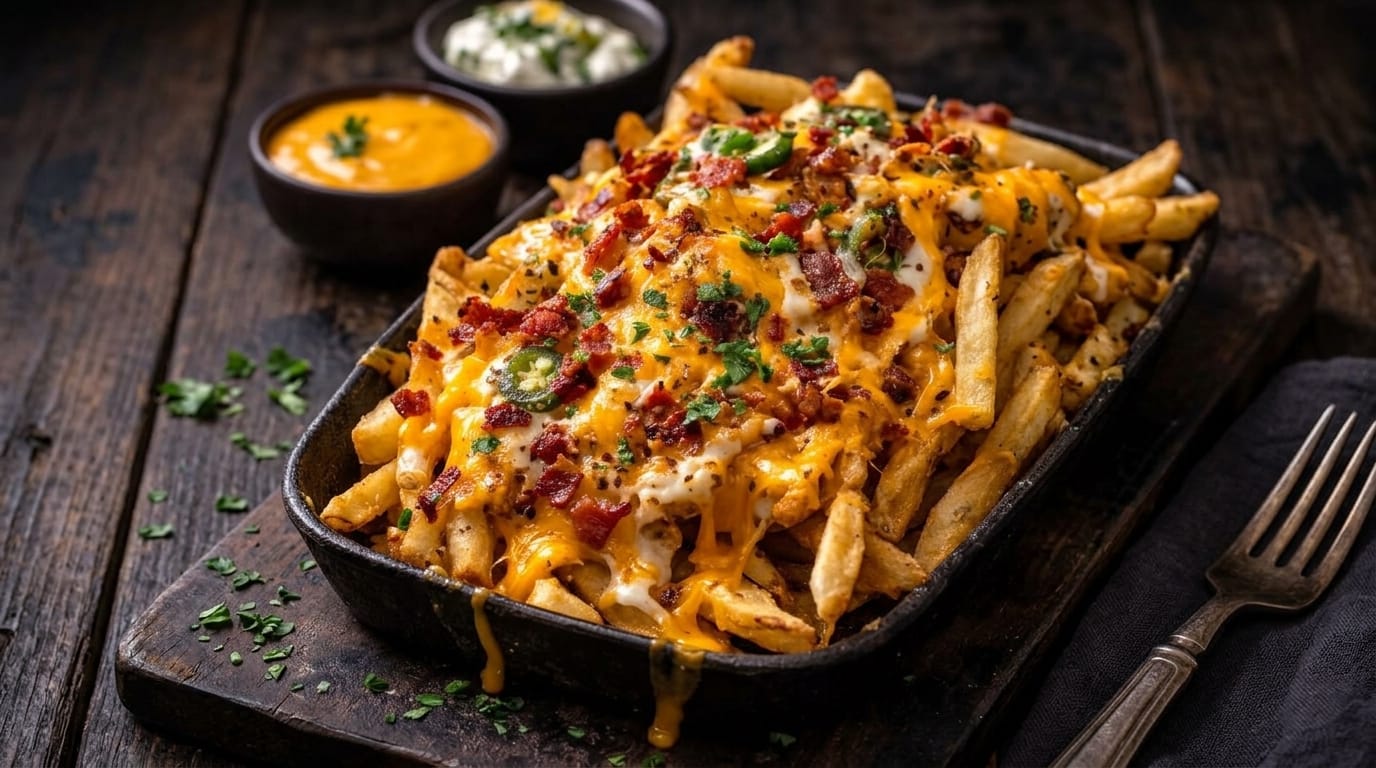
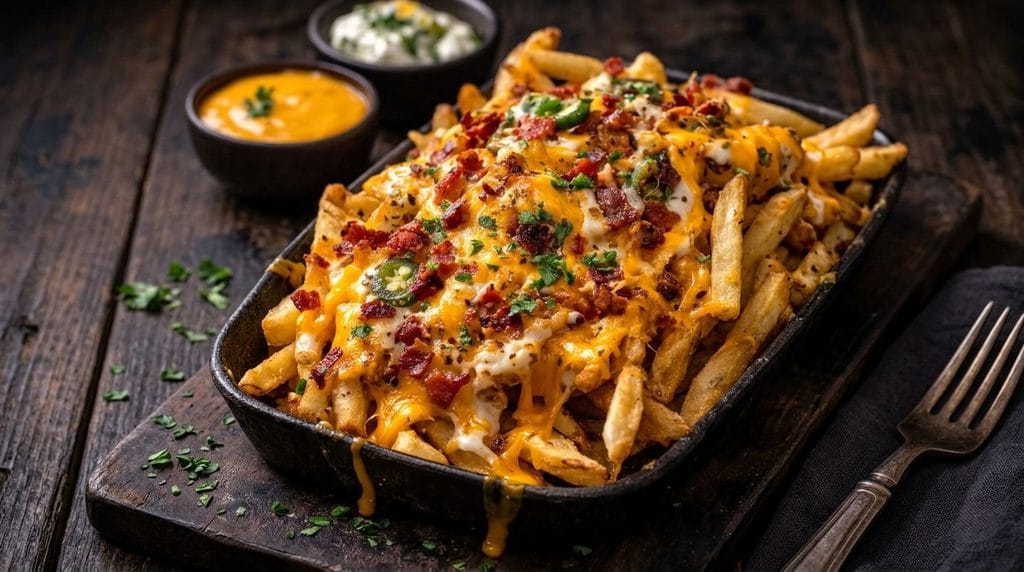
If you are craving the ultimate comfort-food snack, these Loaded Cheese Fries are hard to beat. Crispy golden French fries are piled high with melted cheddar and mozzarella, savory seasoned beef, smoky bacon, jalapeños, green onions, and a creamy finishing sauce for a platter that is cheesy, crispy, messy, and completely satisfying.
Loaded fries are perfect for game day, movie nights, casual gatherings, weekend dinners, or whenever you want something fun to share. The secret is starting with fries that are very crisp before adding the toppings. This keeps them from becoming soggy once the cheese, meat, and sauces are added.
You can make these fries with homemade potatoes or use frozen fries when you need something faster. The toppings are easy to customize too—swap ground beef for chicken, add black beans and corn, use spicy cheese, or keep them vegetarian. Once you know the basic method, you can create a different loaded-fries combination every time.
Why You’ll Love These Loaded Cheese Fries
These fries bring together several irresistible textures in one dish. The potatoes are crisp around the edges and fluffy inside, while the cheese melts into every layer.
Seasoned beef adds hearty savory flavor, bacon provides smokiness, and jalapeños give the dish a little heat. Fresh green onions help cut through the richness.
Another advantage is that almost every component can be prepared ahead. The beef and bacon can be cooked earlier, the cheese can be shredded, and the toppings can be chopped. When you are ready to eat, simply bake the fries, load them up, and melt the cheese.
Ingredients
For the Fries
- 2 pounds russet potatoes
- 2 tablespoons olive oil
- 1 tablespoon cornstarch
- 1 teaspoon garlic powder
- 1 teaspoon paprika
- ½ teaspoon onion powder
- 1 teaspoon kosher salt
- ½ teaspoon freshly ground black pepper
For the Seasoned Beef
- 1 pound lean ground beef
- 1 tablespoon olive oil
- 1 small yellow onion, finely diced
- 2 garlic cloves, minced
- 1 teaspoon chili powder
- 1 teaspoon paprika
- ½ teaspoon ground cumin
- ½ teaspoon garlic powder
- ½ teaspoon onion powder
- ½ teaspoon salt
- ¼ teaspoon black pepper
- 1 tablespoon tomato paste
- 1 tablespoon Worcestershire sauce
For the Cheese
- 2 cups shredded sharp cheddar cheese
- 1½ cups shredded mozzarella or Monterey Jack
- ¼ cup freshly grated Parmesan, optional
For the Toppings
- 6 slices bacon, cooked until crisp and crumbled
- 1 jalapeño, thinly sliced
- 3 green onions, thinly sliced
- 1 medium tomato, diced
- ¼ cup chopped fresh cilantro or parsley
- ½ cup sour cream
- Salsa, optional
- Guacamole, optional
- Ranch or spicy mayo, optional
How to Make Loaded Cheese Fries
1. Preheat the Oven
Preheat your oven to 425°F (220°C).
Line a large rimmed baking sheet with parchment paper.
If you have two baking sheets, dividing the fries between them can help them become even crispier because they have more room.
2. Prepare the Potatoes
Wash and scrub the potatoes.
Peeling is optional. Leaving the skins on gives the fries extra texture and a more rustic appearance.
Cut the potatoes into fries approximately ¼ to ⅜ inch thick.
Try to keep them similar in size so they cook evenly.
3. Soak the Fries
Place the cut potatoes in a large bowl of cold water.
Let them soak for approximately 20–30 minutes.
Soaking helps remove excess surface starch, which can improve crispness.
Drain thoroughly and spread the potatoes on clean kitchen towels or paper towels.
Dry them extremely well.
4. Season the Fries
Place the dried potatoes in a large bowl.
Add olive oil, cornstarch, garlic powder, paprika, onion powder, salt, and black pepper.
Toss until every fry is evenly coated.
The cornstarch creates a thin coating that helps the fries become crisp in the oven.
5. Bake Until Golden
Spread the potatoes in a single layer on the baking sheet.
Avoid overlapping them as much as possible.
Bake for approximately 20 minutes.
Flip the fries and continue baking for another 15–20 minutes, or until deeply golden and crisp.
Cooking time will depend on how thick you cut the potatoes.
6. Cook the Beef
While the fries bake, heat olive oil in a skillet over medium-high heat.
Add the ground beef.
Cook for approximately 5–7 minutes, breaking it into small crumbles.
Continue until no pink remains and the beef reaches an internal temperature of 160°F (71°C).
Drain excess grease if necessary.
7. Season the Beef
Add the diced onion.
Cook for about 3 minutes, until softened.
Add the garlic and cook for another 30 seconds.
Stir in chili powder, paprika, cumin, garlic powder, onion powder, salt, black pepper, tomato paste, and Worcestershire sauce.
Cook for another 1–2 minutes.
The mixture should be flavorful but fairly dry. Excess liquid can quickly make the fries soggy.
8. Prepare the Bacon and Toppings
While the fries finish cooking, cook the bacon until crisp if you have not already done so.
Drain on paper towels and crumble into small pieces.
Slice the jalapeño and green onions.
Dice the tomato and chop the cilantro or parsley.
Having all your toppings ready is important because loaded fries are best served immediately.
9. Build the First Cheese Layer
Once the fries are crisp, remove the baking sheet from the oven.
Push them slightly closer together so they create a base for the toppings.
Sprinkle approximately half of the cheddar and mozzarella over the fries.
This first layer allows melted cheese to reach the lower fries instead of sitting only on top.
10. Add the Beef
Scatter the seasoned ground beef evenly over the cheese-covered fries.
Avoid placing huge piles in one area.
You want every serving to have a little beef, cheese, and potato.
11. Add Bacon and Remaining Cheese
Sprinkle the crumbled bacon over the beef.
Add the remaining cheddar and mozzarella.
Finish with optional Parmesan.
Make sure some cheese reaches the exposed edges so you get crispy, cheesy bites around the pan.
12. Melt the Cheese
Return the loaded fries to the oven.
Bake for approximately 5–7 minutes, or until the cheese is completely melted and bubbling.
For a slightly more golden finish, switch the oven to broil for about 1 minute.
Watch closely because cheese can brown very quickly.
13. Add the Fresh Toppings
Remove the fries from the oven.
Immediately add sliced jalapeños, green onions, diced tomatoes, and cilantro.
Fresh toppings added after baking provide color, texture, and brightness.
14. Add the Sauces
Drizzle sour cream, ranch, spicy mayo, or another favorite sauce over the fries.
Serve salsa and guacamole on the side or add small spoonfuls directly over the platter.
Avoid adding too much sauce at once because it can soften the fries.
What to Serve With Loaded Cheese Fries
Loaded fries can easily be served as the main event for a casual meal, but they also make an excellent side or appetizer.
Serve them with burgers, grilled chicken, sliders, barbecue meat, crispy chicken tenders, or sandwiches.
For game-day food, pair them with chicken wings, nachos, mozzarella sticks, or dips.
A crisp salad or crunchy coleslaw can provide a refreshing contrast to the richness of the fries.
Tips for the Best Loaded Cheese Fries
Dry the potatoes thoroughly. Moisture is one of the biggest enemies of crispy fries.
Do not overcrowd the pan. Give the potatoes room to roast.
Bake the fries until very crisp before topping. They soften slightly after cheese and meat are added.
Keep the beef mixture relatively dry. Watery toppings make fries soggy.
Use freshly shredded cheese. It usually melts more smoothly than packaged pre-shredded varieties.
Layer the cheese. Putting some underneath and some over the beef distributes it more evenly.
Add cold toppings last. Tomatoes, green onions, sour cream, and guacamole should generally go on after baking.
Serve immediately. Loaded fries are at their best straight from the oven.
Easy Recipe Variations
Buffalo Chicken Loaded Fries
Replace the beef with cooked shredded chicken tossed in buffalo sauce. Top with mozzarella and drizzle with ranch.
BBQ Bacon Cheese Fries
Use shredded barbecue chicken or beef, cheddar cheese, bacon, and sliced green onions.
Taco Loaded Fries
Season the beef with taco seasoning and add black beans, corn, jalapeños, salsa, avocado, and sour cream.
Cheeseburger Fries
Use seasoned beef, cheddar, bacon, pickles, tomatoes, onions, and burger sauce.
Vegetarian Loaded Fries
Skip the beef and add black beans, corn, sautéed peppers, onions, jalapeños, and plenty of cheese.
Storage and Reheating
Loaded fries are best eaten fresh, but leftovers can be stored in an airtight container in the refrigerator for up to 2–3 days.
For the best texture, reheat them in a 400°F (205°C) oven for 8–12 minutes.
An air fryer works especially well at around 375°F (190°C) for 5–7 minutes.
Avoid microwaving when possible because it makes the fries considerably softer.
Add fresh toppings such as sour cream, tomatoes, and green onions only after reheating.
Make-Ahead Instructions
The seasoned ground beef can be prepared up to 2 days ahead and refrigerated.
Bacon can also be cooked ahead.
Cheese can be shredded and vegetables chopped several hours before serving.
For the best results, however, bake and assemble the fries immediately before eating.
If making homemade fries feels like too much work, high-quality frozen fries are an excellent shortcut. Cook them until extra crisp before adding your toppings.
Final Thoughts
These Loaded Cheese Fries combine crispy golden potatoes, seasoned beef, smoky bacon, melted cheddar and mozzarella, jalapeños, green onions, tomatoes, and creamy sauces in one indulgent platter.
The secret is building the dish around very crispy fries and keeping the warm toppings flavorful without making them watery. Layering the cheese underneath and over the beef ensures every bite gets plenty of melted goodness, while fresh toppings added at the end provide contrast.
Serve them for game night, make them as a fun weekend dinner, or customize them with buffalo chicken, barbecue beef, or taco toppings. They are crispy, cheesy, savory, and designed for sharing.