
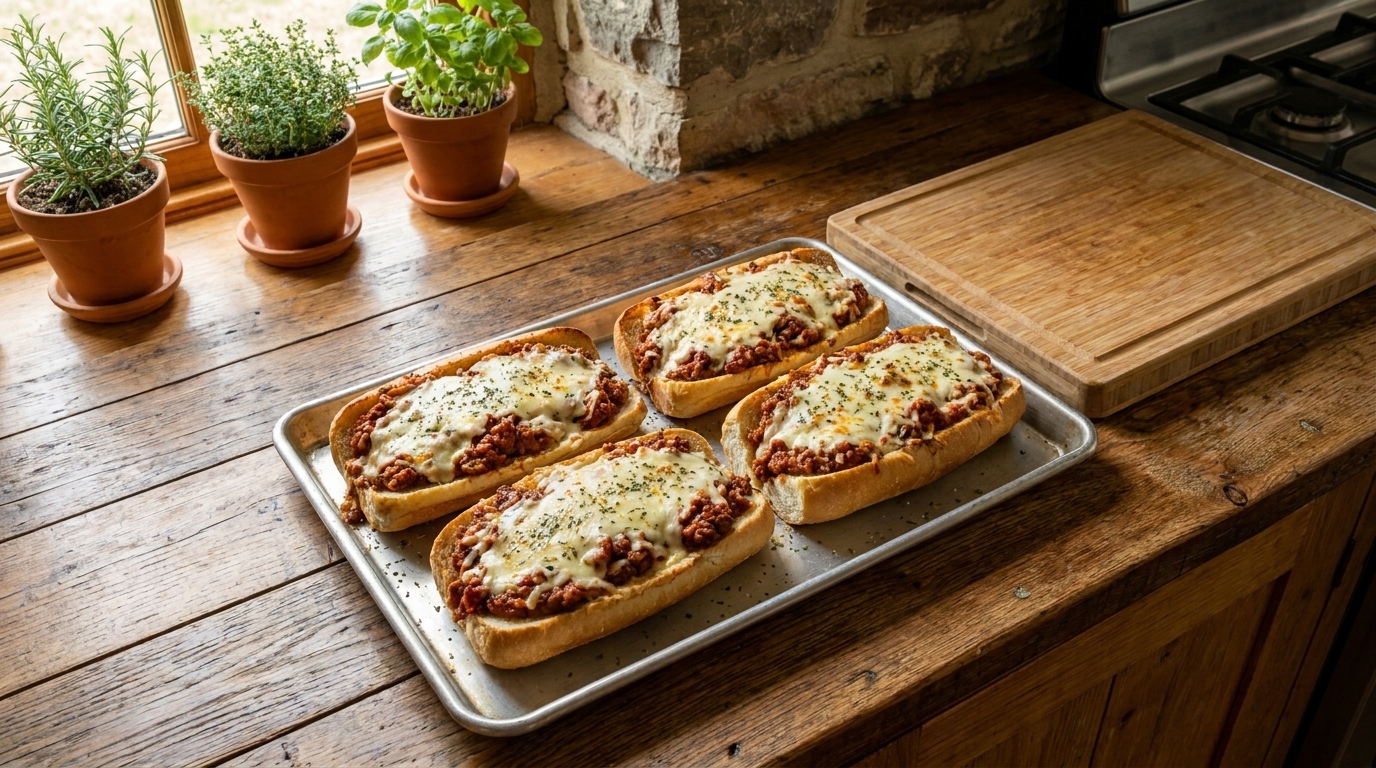
If you are looking for a hearty sandwich that is loaded with savory beef, melted cheese, and plenty of comforting flavor, these Cheesy Ground Beef Stuffed Subs are an easy recipe you will want to make again and again. Soft sub rolls are filled with seasoned ground beef, onions, garlic, tomato sauce, and plenty of gooey cheese, then baked until hot, melty, and lightly crisp around the edges.
This recipe is perfect for busy weeknights, game day, family dinners, casual gatherings, or anytime you want something satisfying without making a complicated meal. The beef filling is rich and savoury, while the melted cheese turns every bite into a warm, comforting sandwich.
One of the best things about homemade stuffed subs is how easy they are to customize. You can add mushrooms, bell peppers, jalapeños, bacon, different cheeses, or even a little barbecue sauce depending on the flavors you enjoy.
Why You’ll Love These Cheesy Ground Beef Stuffed Subs
These easy stuffed subs combine the comfort of a cheeseburger, sloppy joe, and toasted sub sandwich in one simple recipe.
The ground beef is cooked with onion, garlic, herbs, and tomato paste for plenty of flavor, while mozzarella and cheddar melt directly into the filling and over the top.
They are also great for feeding a family because the filling can be prepared ahead of time and the sandwiches only need a few minutes in the oven before serving.
Whether you serve them with fries, salad, chips, or roasted vegetables, these stuffed subs make a hearty meal with very little fuss.
Ingredients
For the Ground Beef Filling
- 1½ pounds ground beef
- 1 tablespoon olive oil
- 1 small yellow onion, finely diced
- 3 garlic cloves, finely minced
- 1 small green bell pepper, finely diced, optional
- 2 tablespoons tomato paste
- ½ cup tomato sauce
- 1 tablespoon Worcestershire sauce
- 1 teaspoon Italian seasoning
- 1 teaspoon garlic powder
- ½ teaspoon onion powder
- ½ teaspoon paprika
- ½ teaspoon salt
- ½ teaspoon freshly ground black pepper
- ¼ teaspoon red pepper flakes, optional
For the Cheese
- 1½ cups shredded mozzarella cheese
- 1 cup shredded cheddar cheese
- ¼ cup freshly grated Parmesan cheese
For the Subs
- 6 sub rolls or hoagie rolls
- 2 tablespoons unsalted butter, softened
- ½ teaspoon garlic powder
- 1 tablespoon freshly chopped parsley
How to Make Cheesy Ground Beef Stuffed Subs
1. Prepare the Beef
Heat the olive oil in a large skillet over medium-high heat.
Add the diced onion and bell pepper if using.
Cook for approximately 4–5 minutes, stirring occasionally, until the vegetables begin to soften.
Add the minced garlic.
Cook for approximately 30–60 seconds, stirring constantly, until fragrant.
Add the ground beef to the skillet.
Use a wooden spoon or spatula to break it into small crumbles.
Cook for approximately 6–8 minutes, or until the beef is browned and no pink remains.
Drain excess grease if necessary.
2. Season the Beef Filling
Reduce the heat to medium.
Add the tomato paste and stir it into the beef.
Cook for approximately 1 minute.
Add the tomato sauce, Worcestershire sauce, Italian seasoning, garlic powder, onion powder, paprika, salt, black pepper, and red pepper flakes if using.
Stir until everything is evenly combined.
Allow the mixture to simmer gently for approximately 3–5 minutes.
The filling should be moist but not watery.
If it seems too loose, allow it to cook for another minute or two until some of the excess liquid evaporates.
3. Add Cheese to the Filling
Reduce the heat to low.
Add approximately ½ cup mozzarella and ½ cup cheddar to the beef mixture.
Stir gently until the cheese melts into the meat.
This creates a rich, cheesy filling rather than leaving all of the cheese only on top.
Remove the skillet from the heat.
Taste and adjust the seasoning if needed.
4. Prepare the Sub Rolls
Preheat your oven to 375°F (190°C).
Line a large baking sheet with parchment paper or aluminum foil.
Place the sub rolls on a cutting board.
Slice each roll lengthwise without cutting completely through the bottom.
Open the rolls gently to create space for the filling.
If the rolls are especially thick, remove a small amount of bread from the center.
This creates more room for the beef and helps prevent the sandwiches from becoming overloaded.
5. Add the Garlic Butter
In a small bowl, combine the softened butter and garlic powder.
Spread a thin layer over the inside of each sub roll.
This adds flavor and helps protect the bread from becoming soggy.
Place the rolls on the prepared baking sheet.
For a slightly crispier interior, bake the empty rolls for approximately 3–4 minutes before adding the filling.
6. Fill the Subs
Spoon the warm beef mixture generously into each roll.
Press the filling down lightly so it stays in place.
Try to distribute the beef evenly so each sandwich gets a similar amount.
Avoid adding excessive liquid from the skillet.
The filling should sit neatly inside the bread without spilling out heavily.
7. Add the Cheese Topping
Sprinkle the remaining mozzarella and cheddar over the beef.
Add the Parmesan.
Make sure the cheese reaches from end to end so every bite has plenty of melted cheese.
For extra cheesy subs, gently press some of the cheese into the beef filling before adding another layer over the top.
8. Bake Until Hot and Melty
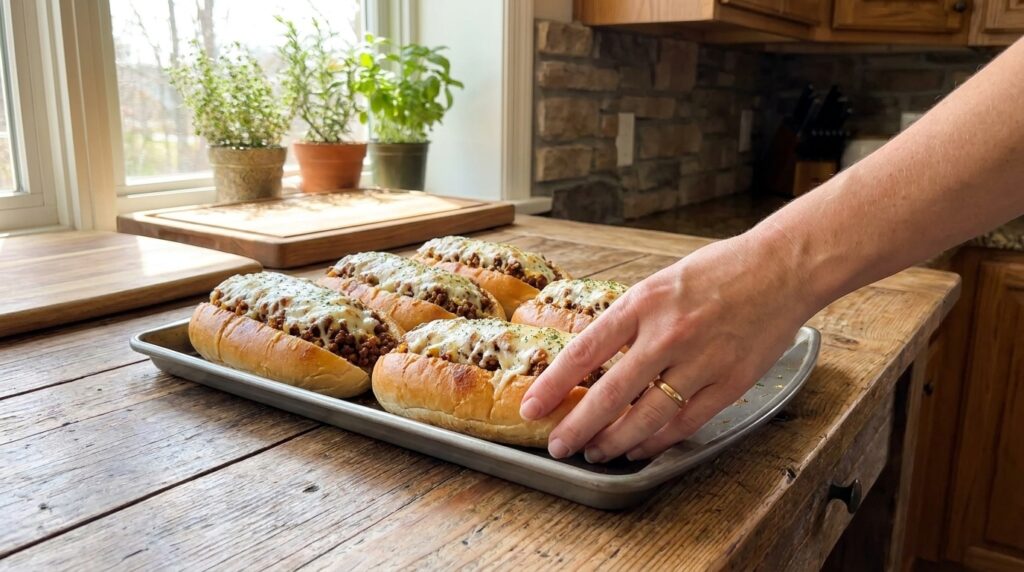
Place the stuffed subs in the preheated oven.
Bake for approximately 8–12 minutes.
The cheese should be completely melted and the edges of the rolls should become lightly crisp.
For a more golden cheese topping, switch the oven to broil for approximately 1–2 minutes.
Watch closely because both the cheese and bread can brown quickly.
9. Finish and Serve
Remove the subs from the oven.
Allow them to rest for approximately 2–3 minutes.
Sprinkle with freshly chopped parsley.
For extra flavor, add a small amount of grated Parmesan, black pepper, or red pepper flakes.
Serve hot while the beef is juicy and the cheese is melted.
What to Serve With Cheesy Ground Beef Stuffed Subs
These stuffed subs pair perfectly with classic sandwich sides such as French fries, potato wedges, onion rings, or sweet potato fries.
For something lighter, serve them with a garden salad, Caesar salad, cucumber salad, or coleslaw.
Potato chips, pickles, or roasted vegetables also work well.
You can also serve the subs with marinara sauce, garlic sauce, ranch dressing, or spicy mayonnaise for dipping.
For a larger family meal, pair them with roasted broccoli, green beans, or a simple pasta salad.
Tips for the Best Cheesy Ground Beef Stuffed Subs
Drain excess grease from the ground beef so the sandwiches do not become oily.
Keep the beef filling thick rather than watery.
Use sturdy sub rolls that can hold a generous filling without falling apart.
Remove a small amount of bread from the center if the rolls are very thick.
Add cheese directly to the beef as well as over the top for extra creamy texture.
Toast the inside of the rolls briefly before filling if you prefer a crispier sandwich.
Use freshly shredded cheese whenever possible because it melts more smoothly.
Serve the subs soon after baking for the best texture.
Easy Recipe Variations
For Philly-Style Ground Beef Subs, add sautéed onions, bell peppers, and mushrooms and use provolone cheese.
For Spicy Beef Stuffed Subs, add jalapeños, cayenne pepper, or pepper Jack cheese.
For Bacon Cheeseburger Subs, add cooked crumbled bacon and a little mustard to the beef filling.
For Mushroom Beef Subs, sauté 8 ounces of sliced mushrooms with the onions.
For BBQ Beef Subs, replace the tomato sauce with barbecue sauce and use cheddar cheese.
For Pizza Beef Subs, add pepperoni, pizza sauce, mozzarella, and Italian seasoning.
For Garlic Parmesan Beef Subs, increase the garlic and Parmesan and add extra mozzarella.
For Loaded Beef Subs, top the finished sandwiches with pickles, onions, jalapeños, or crispy bacon.
How to Store Leftovers
Allow leftover stuffed subs to cool before storing.
For the best texture, store the beef filling separately from unused rolls whenever possible.
Refrigerate the cooked beef filling in an airtight container for up to 3–4 days.
Fully assembled leftover subs can also be refrigerated for approximately 2–3 days.
To reheat, wrap the sandwich loosely in foil and place it in a 350°F (175°C) oven for approximately 10–15 minutes.
Remove the foil for the final few minutes if you want the bread to crisp slightly.
An air fryer also works well for individual sandwiches.
Microwaving is convenient but will make the bread softer.
The beef filling can be frozen for up to approximately 2–3 months.
Thaw overnight in the refrigerator before reheating and assembling fresh subs.
Frequently Asked Questions
What type of ground beef works best?
Ground beef that is around 85% lean works well because it has enough fat for flavor without being excessively greasy.
If using a fattier blend, drain the excess grease after browning.
What cheese should I use?
Mozzarella and cheddar are an excellent combination.
Provolone, Monterey Jack, pepper Jack, American cheese, or Parmesan can also be used.
Can I make the beef filling ahead of time?
Yes.
Prepare the filling up to approximately 2–3 days ahead and refrigerate it in an airtight container.
Reheat it before filling the subs.
How do I keep the bread from getting soggy?
Keep the filling relatively thick, drain excess grease, and lightly toast or butter the inside of the rolls before filling.
Can I add vegetables?
Absolutely.
Bell peppers, mushrooms, onions, spinach, jalapeños, or even finely chopped zucchini can be added to the beef.
Can I use ground turkey?
Yes.
Ground turkey or chicken can replace the beef.
Because they are leaner, you may want to add a little extra olive oil while cooking.
Can I make these subs ahead?
You can prepare the filling ahead, but the sandwiches are best assembled shortly before baking.
This keeps the bread from absorbing too much moisture.
Can I freeze the assembled subs?
You can, but the texture of the bread may be softer after thawing.
For the best result, freeze the beef filling separately and assemble fresh sandwiches later.
Final Thoughts
These easy Cheesy Ground Beef Stuffed Subs combine seasoned beef, rich tomato flavor, soft toasted rolls, and plenty of melted cheese in one hearty and comforting sandwich.
They are simple enough for busy weeknight dinners, filling enough for hungry families, and versatile enough to customize with peppers, mushrooms, bacon, spicy cheese, or your favorite sauces.
Serve them hot with fries, salad, roasted vegetables, or dipping sauce, and enjoy a warm, cheesy, beef-packed sub in every satisfying bite.