
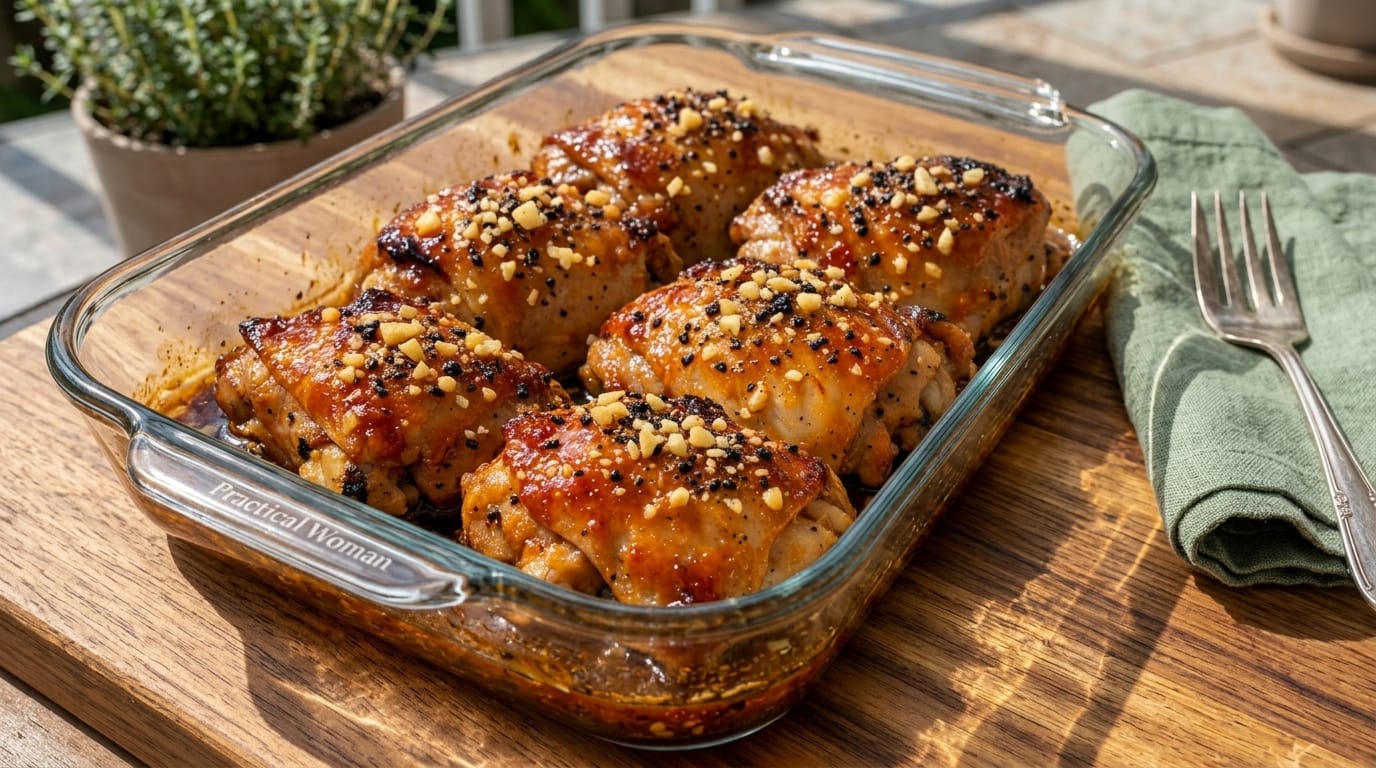
If you are looking for a chicken dinner that is juicy, flavorful, and covered in a glossy, sticky garlic sauce, these Sticky Garlic Chicken Thighs are exactly the kind of recipe you will want to make again and again. Tender chicken thighs are seasoned, pan-seared until golden, then simmered in a rich garlic glaze made with honey, soy sauce, brown sugar, butter, and a touch of vinegar.
The result is a perfect balance of sweet, savory, garlicky, and slightly tangy flavors. The sauce becomes thick and shiny as it cooks, coating every piece of chicken beautifully. Because chicken thighs naturally stay moist and tender, they are ideal for this kind of sticky skillet recipe.
This dish is perfect for busy weeknights, family dinners, meal prep, or casual entertaining. Serve it over steamed rice, mashed potatoes, noodles, or roasted vegetables and spoon plenty of the sticky garlic sauce over everything.
Why You’ll Love These Sticky Garlic Chicken Thighs
Chicken thighs are one of the easiest cuts of chicken to cook because they remain juicy even when cooked a little longer than chicken breasts.
The sticky garlic glaze is another reason this recipe stands out. Honey and brown sugar provide sweetness, soy sauce adds salty umami flavor, fresh garlic gives the sauce plenty of savory depth, and rice vinegar balances everything with a touch of acidity.
This recipe is also incredibly convenient. Most of the ingredients are pantry staples, and the entire dish can be made in one large skillet.
You can use boneless or bone-in chicken thighs, adjust the sweetness, add chili flakes for heat, or include vegetables in the same pan.
Ingredients
For the Chicken
- 2 pounds boneless, skinless chicken thighs
- 1 tablespoon olive oil
- 1 teaspoon garlic powder
- 1 teaspoon onion powder
- 1 teaspoon paprika
- ¾ teaspoon kosher salt
- ½ teaspoon freshly ground black pepper
- ½ teaspoon dried thyme
For the Sticky Garlic Sauce
- 2 tablespoons unsalted butter
- 6 garlic cloves, finely minced
- ⅓ cup honey
- ¼ cup packed brown sugar
- ⅓ cup low-sodium soy sauce
- 2 tablespoons rice vinegar or apple cider vinegar
- 1 tablespoon Worcestershire sauce
- 1 tablespoon ketchup
- ½ teaspoon fresh grated ginger, optional
- ¼ teaspoon crushed red pepper flakes, optional
- ¼ cup chicken broth
For Thickening
- 1 tablespoon cornstarch
- 2 tablespoons cold water
For Garnishing
- 2 green onions, thinly sliced
- 1 tablespoon sesame seeds
- Chopped fresh parsley, optional
- Extra red pepper flakes, optional
How to Make Sticky Garlic Chicken Thighs
1. Prepare the Chicken
Remove the chicken thighs from their packaging and pat them thoroughly dry with paper towels.
This step is important because excess moisture prevents proper browning.
If the thighs are very large, you can trim away excess fat or cut them into slightly smaller pieces for quicker cooking.
2. Season the Chicken
In a small bowl, combine garlic powder, onion powder, paprika, salt, black pepper, and dried thyme.
Sprinkle the seasoning evenly over both sides of the chicken thighs.
Gently rub the spices into the meat so every piece is well coated.
3. Make the Sticky Garlic Sauce
In a medium bowl, whisk together honey, brown sugar, soy sauce, rice vinegar, Worcestershire sauce, ketchup, optional ginger, optional crushed red pepper flakes, and chicken broth.
Set the sauce aside.
Having it ready before you start cooking makes the recipe much easier because the chicken cooks quickly once it goes into the skillet.
4. Heat the Skillet
Place a large heavy skillet over medium-high heat.
Add the olive oil.
Allow the skillet to become hot before adding the chicken.
A properly heated pan helps create the golden-brown exterior that gives this dish extra flavor.
5. Sear the Chicken Thighs
Arrange the chicken thighs in a single layer.
Do not overcrowd the skillet. If necessary, cook them in batches.
Sear for approximately 4–5 minutes on the first side without moving them too much.
Flip and cook the second side for another 3–4 minutes.
The chicken does not necessarily need to be fully cooked at this stage because it will finish cooking in the sauce.
Transfer the chicken to a clean plate.
6. Add the Butter and Garlic
Reduce the heat to medium-low.
Add the butter to the same skillet.
Once melted, add the minced garlic.
Cook for approximately 30 seconds, stirring constantly.
You want the garlic to become fragrant without turning dark brown.
7. Add the Sauce
Pour the prepared honey-soy mixture into the skillet.
Stir well and scrape up all the browned pieces from the bottom of the pan.
Those caramelized bits left behind by the chicken add even more flavor to the sauce.
Bring the mixture to a gentle simmer.
8. Return the Chicken
Place the chicken thighs back into the skillet.
Turn each piece so it becomes coated with the sauce.
Reduce the heat to medium-low and let the chicken simmer gently for approximately 6–10 minutes, turning occasionally.
The exact cooking time depends on the thickness of the thighs.
9. Check the Chicken Temperature
Chicken thighs should reach an internal temperature of at least 165°F (74°C) in the thickest portion.
Many people prefer thighs cooked slightly beyond 165°F because the connective tissue becomes even more tender, but always avoid excessively high heat that could burn the glaze.
Use an instant-read thermometer for the most reliable result.
10. Make the Cornstarch Slurry
In a small bowl, stir together the cornstarch and cold water until completely smooth.
This mixture helps transform the sauce into a thick, glossy glaze.
11. Thicken the Sauce
Remove the cooked chicken temporarily if you want easier control over the sauce.
Slowly stir the cornstarch slurry into the simmering liquid.
Cook for approximately 1–2 minutes, stirring frequently.
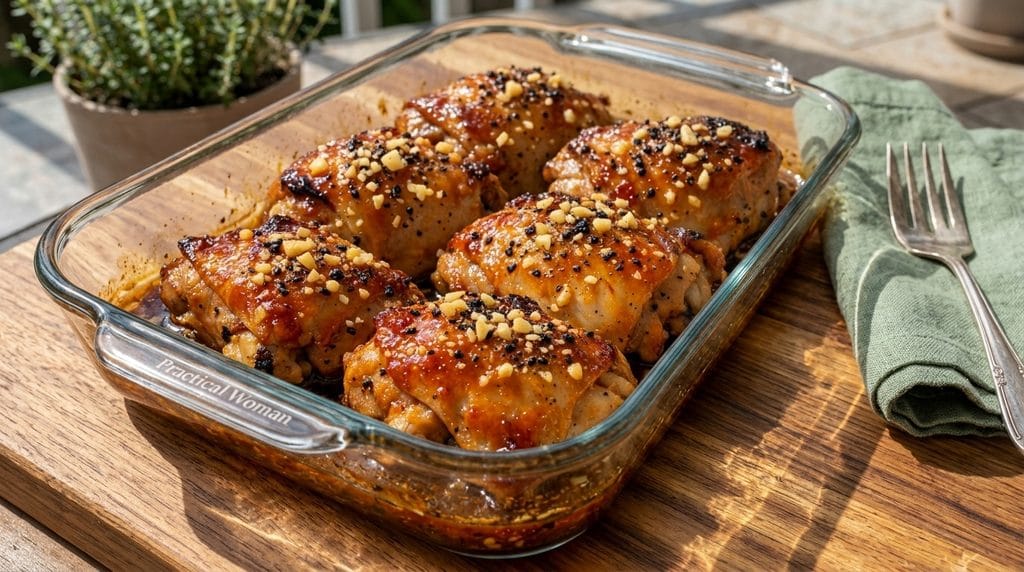
The sauce should quickly become thick, shiny, and sticky.
If it becomes too thick, add a tablespoon or two of chicken broth.
12. Coat the Chicken
Return the chicken to the skillet if you removed it.
Turn each thigh several times until thoroughly coated in the sticky garlic glaze.
Spoon additional sauce over the top.
Let everything simmer together for another 30–60 seconds.
13. Rest Briefly
Remove the skillet from the heat.
Let the chicken rest in the sauce for approximately 3 minutes.
This gives the glaze time to settle and cling even more effectively to the chicken.
14. Garnish and Serve
Sprinkle the Sticky Garlic Chicken Thighs with sliced green onions and sesame seeds.
Add parsley or extra red pepper flakes if desired.
Serve hot with plenty of sauce spooned over the top.
What to Serve With Sticky Garlic Chicken Thighs
Steamed jasmine rice is one of the best sides for this recipe because it absorbs the sweet and savory garlic sauce beautifully.
You can also serve the chicken with basmati rice, brown rice, or fried rice.
For a comforting option, creamy mashed potatoes work surprisingly well with the sticky glaze.
Noodles are another excellent choice. Serve the chicken over lo mein, ramen, rice noodles, or simple buttered noodles.
For vegetables, try broccoli, green beans, roasted carrots, bell peppers, snap peas, or asparagus.
Tips for the Best Sticky Garlic Chicken Thighs
Pat the chicken dry. This helps create better browning.
Do not overcrowd the pan. Crowding can cause the chicken to steam.
Use low-sodium soy sauce. This gives you more control over the salt level.
Use fresh garlic. It gives the glaze much stronger flavor than garlic powder alone.
Watch the heat carefully. Honey and brown sugar can burn if cooked over excessively high heat.
Add the cornstarch slurry gradually. The sauce thickens quickly.
Use a thermometer. Chicken should reach at least 165°F internally.
Serve immediately. The glaze is at its best while hot and glossy.
Easy Recipe Variations
Spicy Sticky Garlic Chicken
Add ½ teaspoon crushed red pepper flakes, chili garlic sauce, or sriracha to the glaze.
Sticky Honey Garlic Chicken
Increase the honey to ½ cup and reduce the brown sugar slightly for a stronger honey flavor.
Sticky Garlic Chicken with Broccoli
Add steamed broccoli to the skillet during the final few minutes and toss it through the glaze.
Orange Garlic Chicken
Add 2 tablespoons fresh orange juice and 1 teaspoon orange zest to the sauce.
Sesame Garlic Chicken
Add 1 teaspoon toasted sesame oil to the finished sauce and garnish generously with sesame seeds.
Sticky Garlic Chicken Bites
Cut boneless thighs into 1½-inch pieces before seasoning. Sear them in batches and reduce the final simmering time.
Storage and Reheating
Store leftover Sticky Garlic Chicken Thighs in an airtight container in the refrigerator for up to 3–4 days.
Keep some extra sauce with the chicken so it stays moist.
To reheat, place the chicken in a skillet over low heat with a splash of chicken broth or water.
Cover and warm gently until heated through.
You can also microwave individual portions in short intervals, stirring or turning the chicken between intervals.
Make-Ahead Instructions
The sticky garlic sauce can be mixed up to 2 days ahead and stored in an airtight container in the refrigerator.
You can also season the chicken several hours before cooking.
Garlic, green onions, and other garnishes can be prepared earlier in the day.
For the best texture and glossy finish, cook the chicken and thicken the sauce shortly before serving.
Final Thoughts
These Sticky Garlic Chicken Thighs combine juicy chicken, fresh garlic, honey, brown sugar, soy sauce, butter, and savory seasonings in one incredibly flavorful skillet dinner.
The key is to sear the chicken first for caramelization, cook the garlic gently, and allow the sauce to simmer before thickening it into a glossy glaze. Keeping the heat controlled prevents the sugars from burning while giving you that signature sticky texture.
Serve the chicken over rice for an easy weeknight dinner, add broccoli for a complete skillet meal, or increase the chili flakes for a sweet-and-spicy variation. Rich, garlicky, sticky, and full of flavor, this is the kind of chicken dinner that is easy to make and even easier to love.